Creating an Amazon Machine Image (AMI) for your product is a great way to simplify your computing infrastructure. A developer simply launches their software on the AMI along with some configuration variables, and their product is up and running on EC2 Instance. With an AMI, you don’t have to build machine images from scratch every time; instead, you start with a pre-built software stack and customize it for your specific needs.
In the realm of cloud computing, Amazon Machine Image, commonly referred to as AMI, stands as a fundamental concept within AWS EC2 (Elastic Compute Cloud) services. An AMI, in essence, serves as a blueprint for launching virtual machines in the cloud. Think of it as a snapshot of a fully configured server, encapsulating the operating system, software, and any custom configurations you desire. AMIs are the linchpin of EC2, enabling users to effortlessly deploy and scale virtual instances that match their specific needs. Whether you’re looking to replicate a server environment or create a tailored computing environment from scratch, understanding what an AMI is in EC2 is the first step towards harnessing the true power of cloud computing on the Amazon Web Services platform.
In this post, we will show you how to launch a new instance from an AMI.
Please watch the video and Learn About How to launch EC2 instance in AWS
What is Elastic Cloud Compute (EC2) Instance?
Elastic-cloud computing allows users with minimal technical knowledge to access large amounts of disk space without having an expensive deal for years worth of upfront fees as traditional hosting providers do. You just pay monthly based on what your usage will typically go through each calendar year; if it doesn’t exceed this limit then there’s no extra charge!
An AWS AMI is basically a snapshot of a specific EC2 instance at a particular point in time. It includes all configurations of an EC2 instance such as a type of Operating system, root volume, Storage, Permissions, files, folders, Applications, etc. When you launch an instance from an AMI, you are creating a copy of the original EC2 instance.
Demystifying AMIs: The Foundation of AWS EC2 Images
An Amazon Machine Image (AMI), commonly referred to as an “AWS EC2 image,” serves as a foundational component within the AWS ecosystem. An AMI, or Amazon Machine Image, is essentially a pre-configured template that encapsulates an entire operating system and associated software. This image functions as a snapshot, capturing the exact state of a virtual server at a particular moment. When creating EC2 instances, these AMIs provide the basis for launching new instances with consistent configurations. By leveraging the power of AMIs or AWS EC2 images, users can efficiently replicate environments, scale applications, and ensure uniformity throughout their cloud infrastructure.
Let’s take an example to understand how AMIs work:
Suppose you have created one EC2 instance having an Operating system Windows and installed all the necessary applications which are important for your day-to-day activities, as well as created a few automation jobs that help you at work.
When you showed your colleagues the configuration of your EC2 server, they were impressed with how it was set up.
Your colleagues requested the same configuration for them as well. When dealing with 100s of servers, it can be very time-consuming to configure the same setup one by one.
How do we solve this problem?
Here comes AMI, in which you can take an image of the current state of your instance and give it to them. From this image, they can create their EC2 instances, and they will get the exact same copy of the EC2 instance as yours.

Boost your earning potential with AWS expertise. Explore our certified AWS Courses for a high-paying career
Let’s move on to the lab.
This AWS EC2 AMI image lab will be completed in 5 Tasks:
Task 1: Create an AWS EC2 instance using the Windows Operating system and connect the AWS EC2 instance using RDP.
Task 2: In this task, we will create 2 dummy folders for testing purposes.
Task 3: Create an AMI image of the EC2 instance created in Task 1.
Task 4: Create an AWS EC2 instance from the AMI image that we created in Task 3.
Task 5: Connect to the new AWS EC2 instance and verify if the same folders that we created in Task 2 are appearing or not.
TASK 1: To create an AWS EC2 Instance having a Windows Operating system.
- Login to AWS Management Console.
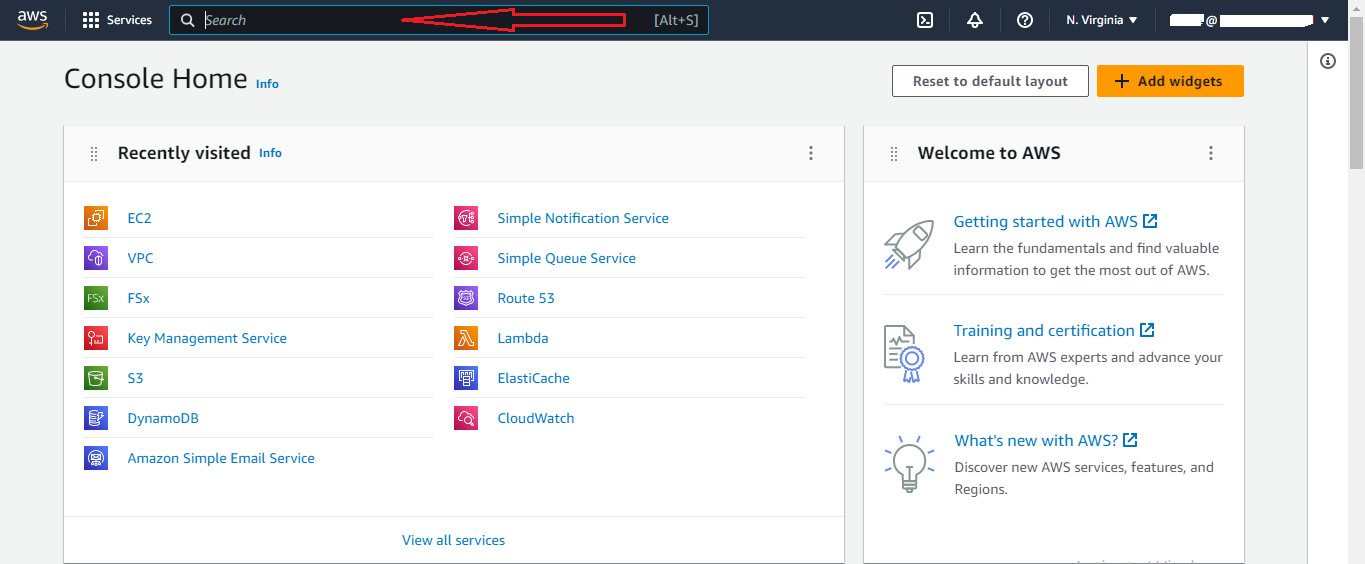
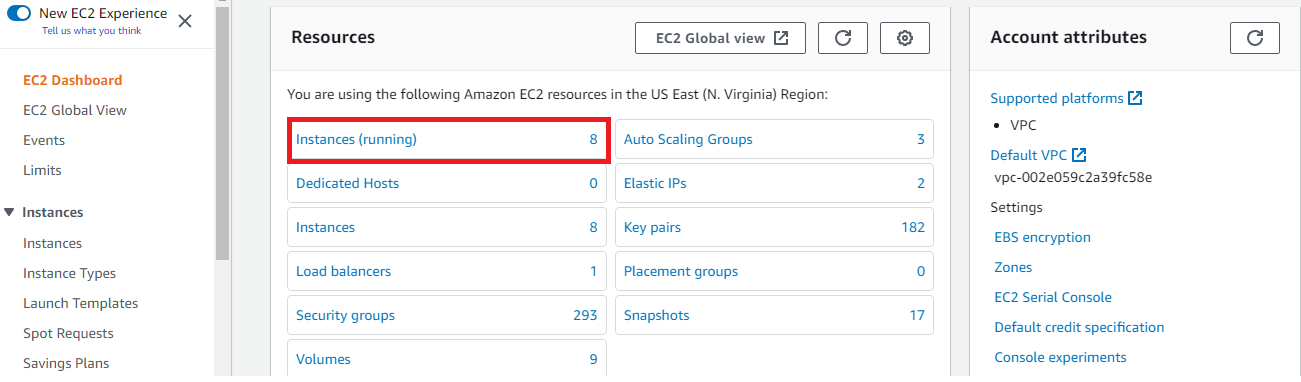
2. For launching the EC2 instance service, type “EC2” in the search box as shown in the below figure.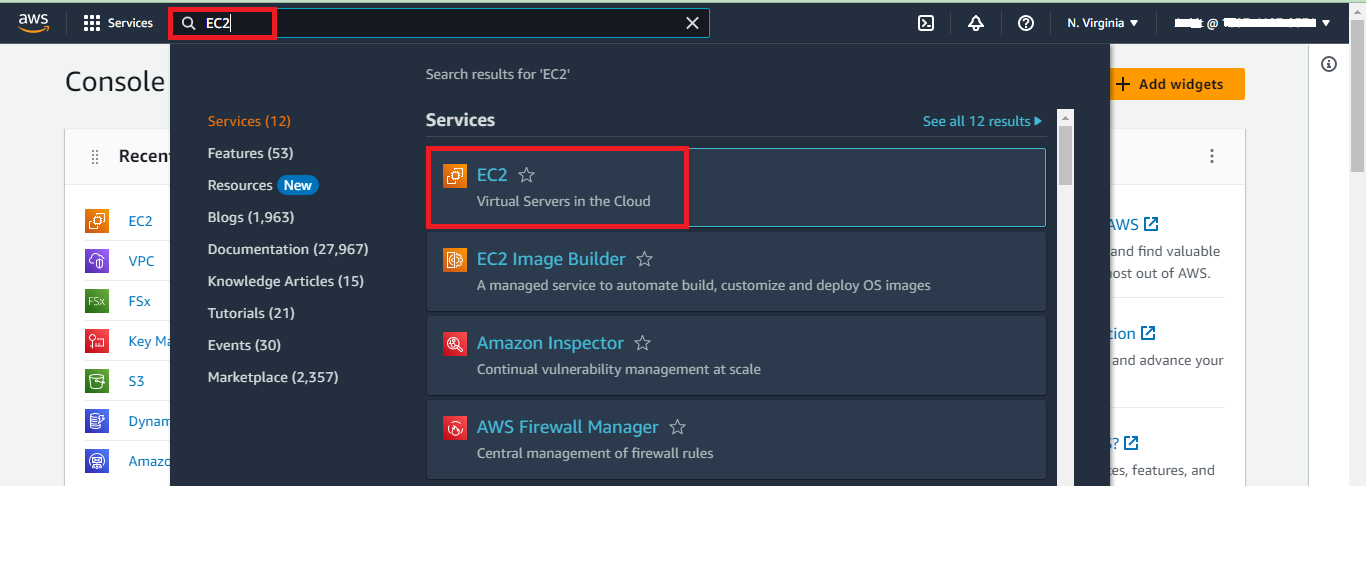 3. Select EC2 and you will see the EC2 Dashboard which is shown below.

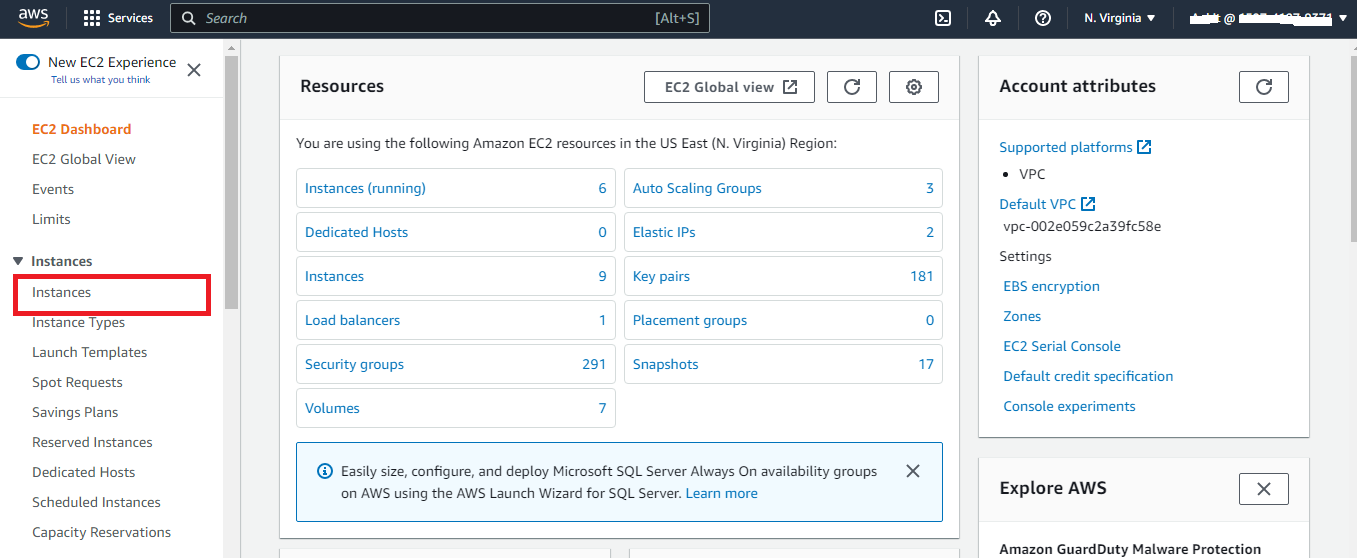
4. On the left-hand side of the dashboard, you will see Instances click on that.
5. After that click on Launch instances.
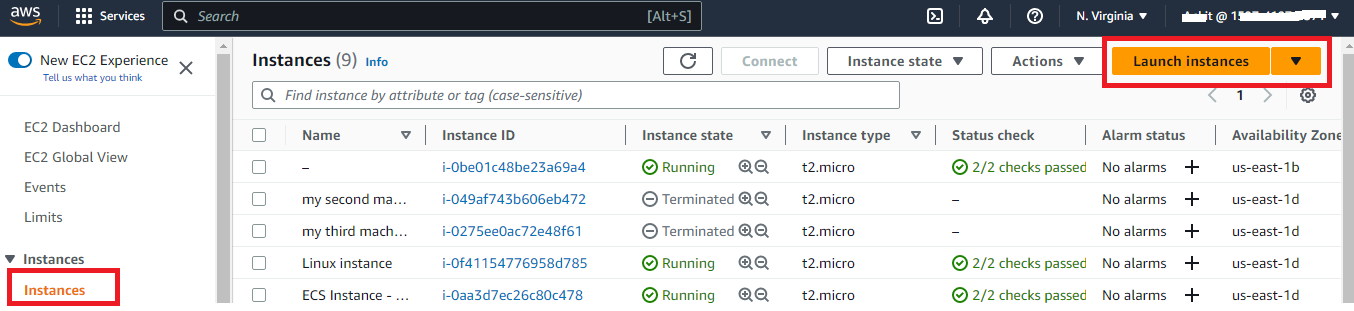
6. Once you click on Launch instance a dropdown will come please select “Launch Instance“

7. Once you click on “Launch Instance” a new page will open there fill in the below details :
Name: MyPrimaryServer
Under the tab “Application and OS Images (Amazon Machine Image)” select Windows as shown below:

8. Now scroll down to the same page and under the section “Key pair (login)” click on “Create New Key Pair“.
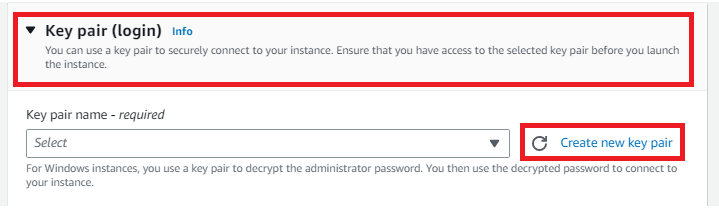 9. Once you click on “Create new Key Pair” a new wizard will open give a name to your key pair as “AMImachinekey” and click on the orange color button Named “Create key pair“

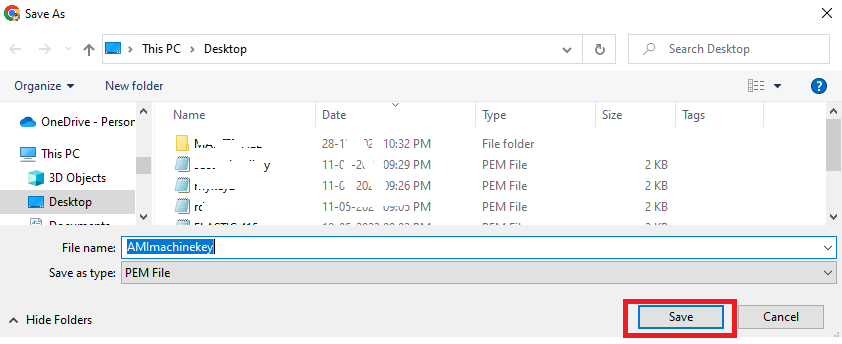
10. Once you click on “Create key pair” a window will open prompting you to allow saving your Key file click on SAVE.
Note: This file will be used later to decrypt the password to log in to the AWS EC2 instance.
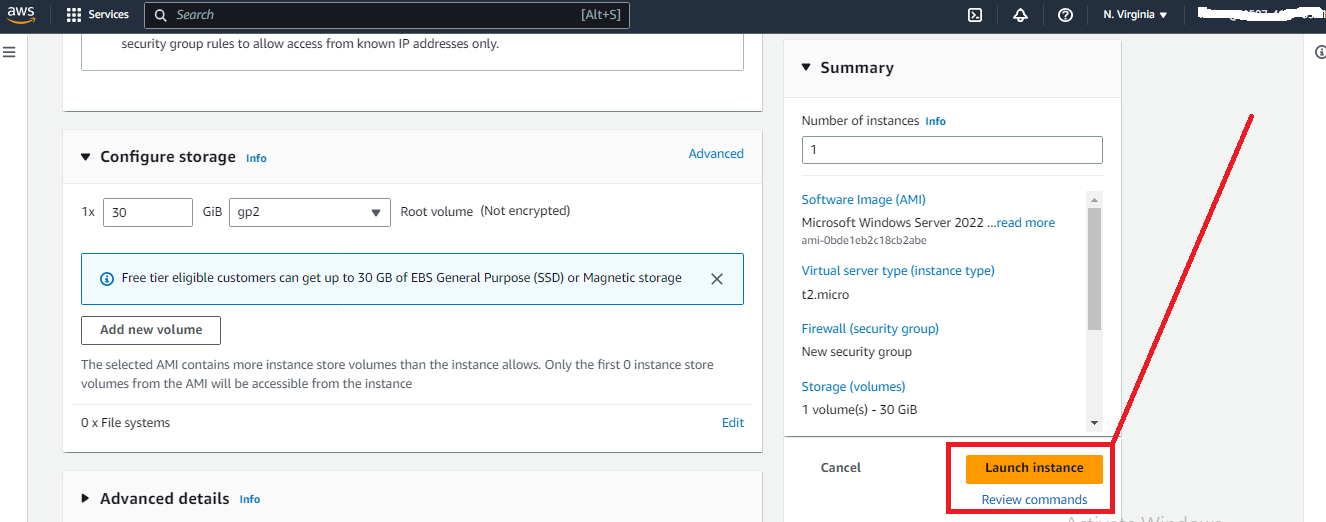
11. Now as your Key is created and saved in your computer. Scroll down and do not make any changes to other options keep everything as default at the bottom of this page you will find an option called “Launch Instance” Click on that.
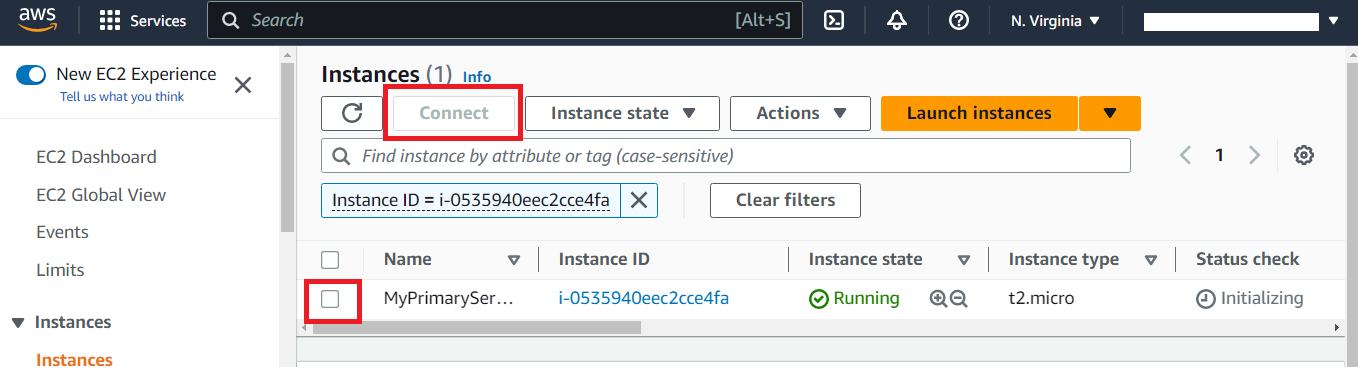
12. Your instance will create in a few seconds and you will get the Instance ID as shown below, click on that instance ID.

13. After you click on the Instance ID as above a new page will open as below, click on the check box beside the name column of the EC2, and Connect Button will be visible click on Connect.
14. On this page :
1. Click on “RDP CLIENT” and you will get a page as below.
2. Now Click on “Download RDP File” Your RDP file to connect to your Windows EC2 instance will be downloaded.
3. Now we need to click on “Get password” to generate the password it will take you to the next page.

15. Now after clicking on “Get Password” a new window will appear here you need to click on “Upload private key file” (the file that you downloaded while creating the EC2 instance).
A new window will appear to select your key file select the key file as shown in the image below and click on open.

16. Now click on Decrypt the password Your password will appear (the password will be different for you, do not match it from the below screenshot) just click on the copy button and copy your password keep that password safe in a notepad.
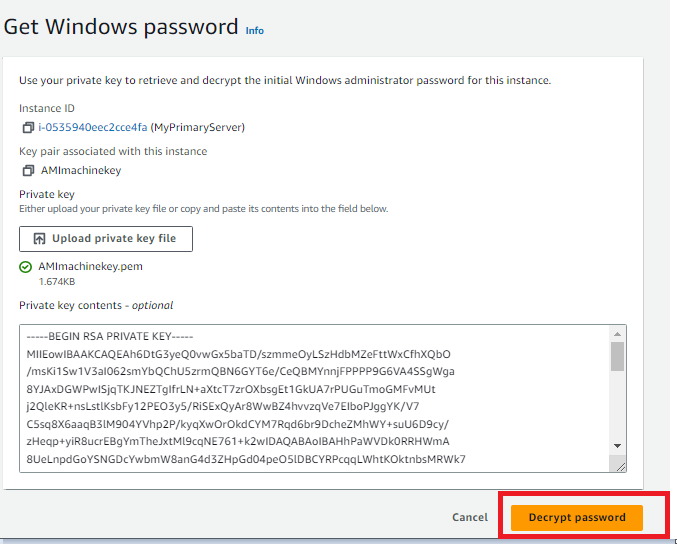
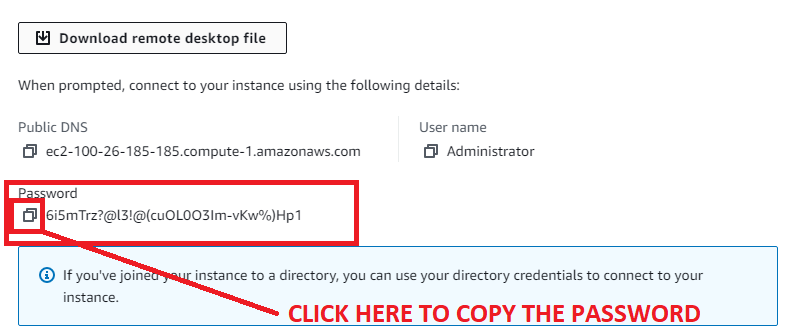
KEEP THIS PASSWORD SAFE IN A NOTEPAD AS THIS PASSWORD WILL BE USED TO LOG IN TO BOTH OF YOUR SERVERS.
17. Now as your password is ready and your RDP file is also downloaded. It is time to open the RDP file and click on open.
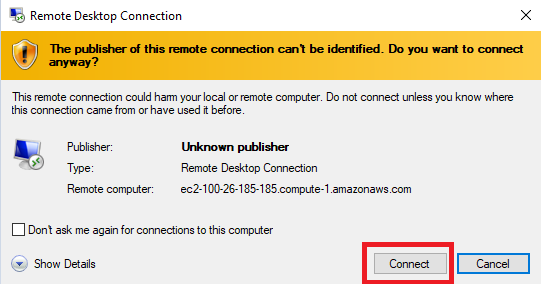
18. Next page give the password as below and click on OK.

19. On the next page click on YES.

20. Now a new window will open and you will able to find your EC2 instance.

Our First task is complete now. Let’s move on to Task number 2.
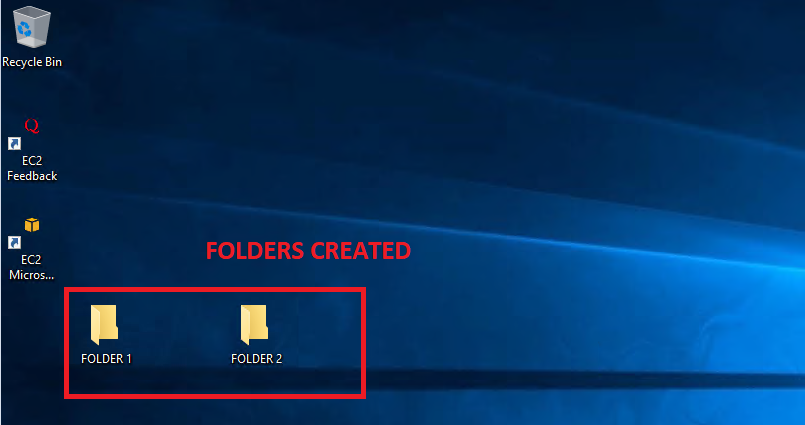
TASK 2: To create some dummy folders in AWS EC2 Instance.
- Now we will create two folders in this EC2 instance create a folder Right click –> New–>Folder and give it a name: FOLDER 1. In the same way, create another folder and name it FOLDER 2

TASK 3: To create AMI of the EC2 instance.
- To create an AMI of the EC2 instance that we just now created in task 1 go to the search box and search for EC2 and click on EC2.
- Go to the EC2 instances list.
- Select your EC2 instance by clicking on your EC2 ID.

4. On the Next page give the name of your AMI as MyAMIimage Scroll to the bottom and click on Create Image.

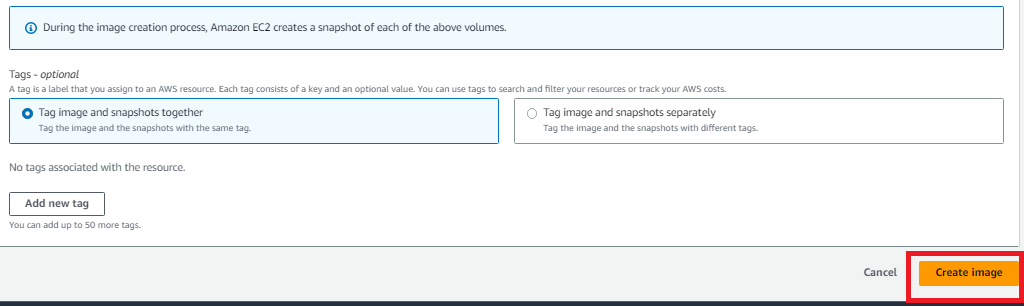
5. Your AMI image will be created.TASK 4: To create a NEW EC2 instance from AMI that we created
1. Please repeat Steps of TASK 1 from Step 1 to Step 6.
2. You should be on the below page after Step 6 of TASK 1, give a name to your EC2 instance: SECOND_EC2_FROM_AMI.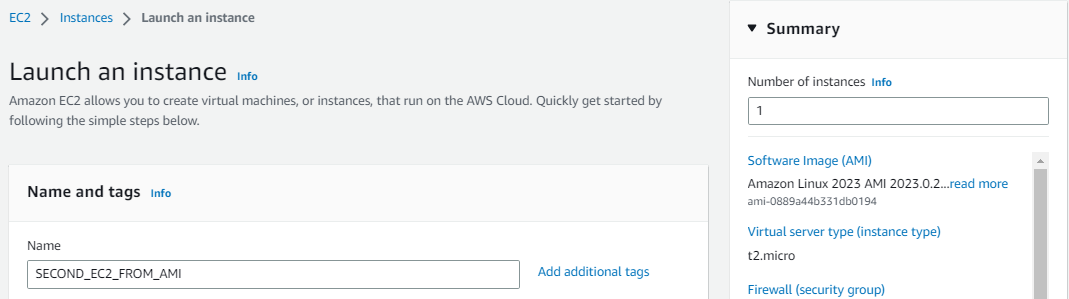
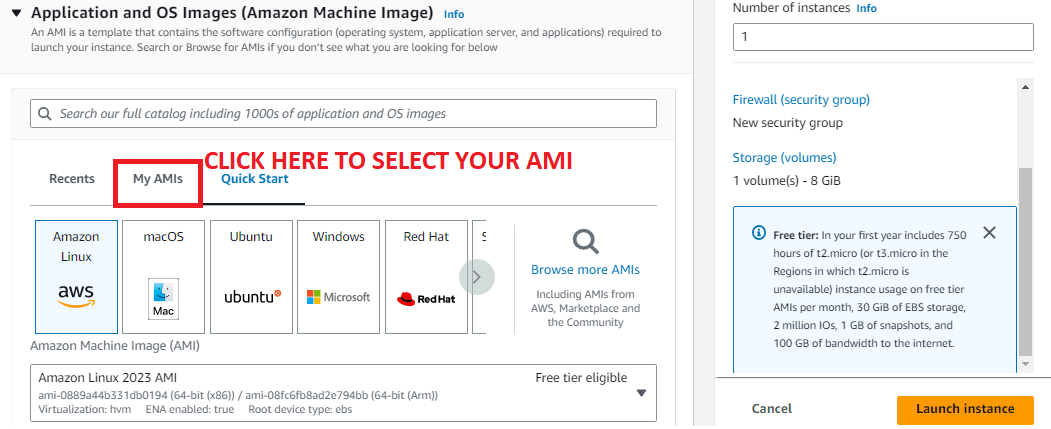
3. Now Scroll down and you will find the tab “Application and OS Images (Amazon Machine Image)” Select MY AMIS as shown below:
4. On My AMIs page click on the dropdown below:
5. Select the AMI image that you created from its name like we gave the name MyAMIimage check the below image: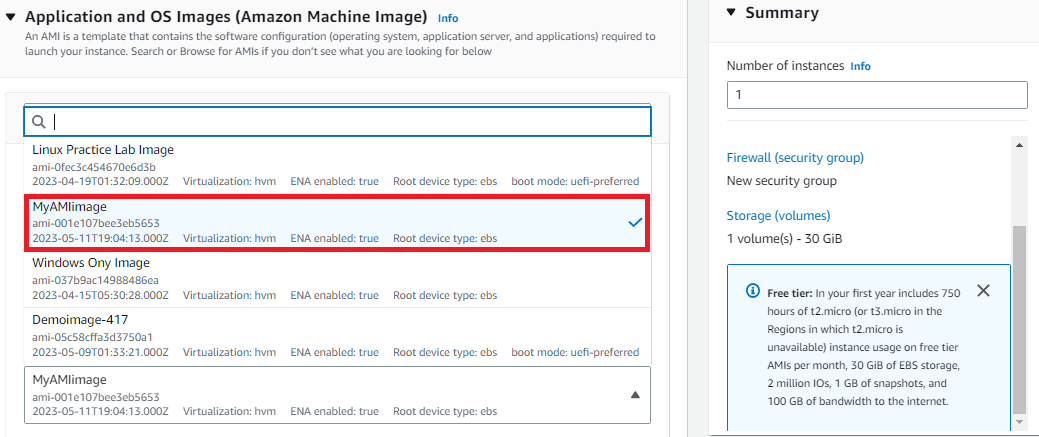 6. Now Scroll down and create your Private key as you did in TASK 1 Step number 8,9 and 10 and launch the instance as step number 11.
7. Your instance will create in a few seconds (Refer to step number 12 of TASK 1) and you will get the Instance ID, click on that instance ID.
8. After you click on the Instance ID a new page will open as below, click on the check box beside the name column of the EC2, and Connect Button will be visible click on Connect.
9. On this page :1. Click on “RDP CLIENT” and you will get a page as below.
2. Now Click on “Download RDP File” Your RDP file to connect to your Windows EC2 instance will be downloaded.
No need to GET a NEW PASSWORD you can use the SAME PASSWORD THAT YOU GOT FROM the FIRST EC2 instance.
10. Now open the RDP file and give the PASSWORD that you copied in Step number 16 of TASK 1. (Follow the same steps you did in step number 17,18 and 19.
11. Your Second EC2 is also launched now.TASK 5: Time to Test AMI checks if both folders are appearing in the new EC2 or NOT.

Congratulations you can see that in the new EC2 instance, both folders are appearing exactly the same way it was in First Server.
Conclusion:
AWS EC2 instances are virtual servers that let you run your own operating system and software on the cloud. They operate like physical machines, but because they’re not real hardware, you can configure them to be as big or small as you want with no upfront investment cost. You just need a credit card for processing fees and an internet connection! Plus, there is no equipment to maintain – all of the maintenance tasks will be taken care of by Amazon Web Services (AWS). If this sounds appealing and you’re ready to get started building your very own instance today!
To learn more on cloud computing check our other blogs. You can also refer to the best AWS EC2 interview questions and answers – 2024.